Welcome to KenbakKit.com! Home of the Official Kenbak-1 Reproduction Kit! |
Visit Stockly Electronics Forums for more pictures as they become available! NOTE: I stripped out one of the set screws using a bad allen wrench so I can't take it apart right now. I will update the page later this week with pictures of the inside!  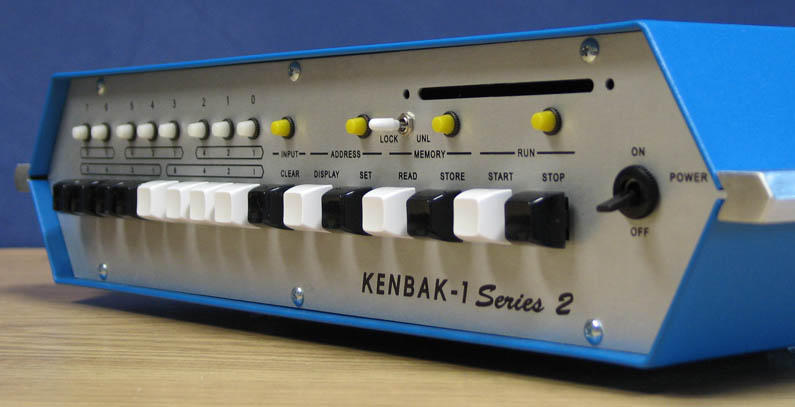 The completed Kenbak-1 Series 2 kit (I am having trouble taking pictures with the flash on my camera of the Kenbak-1 because of the shiny Aluminum silkscreen. Please e-mail me any suggestions!) 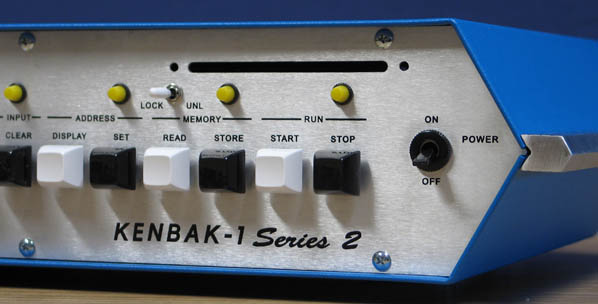 A close-up of the right hand shows the brushed grain. 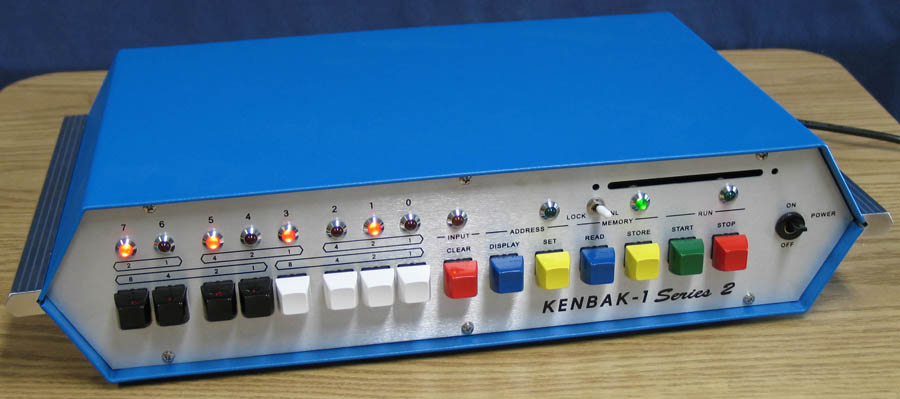 A KENBAK-1 Series 2 built using less conventional LEDs and colored switches.  The custom extruded handle 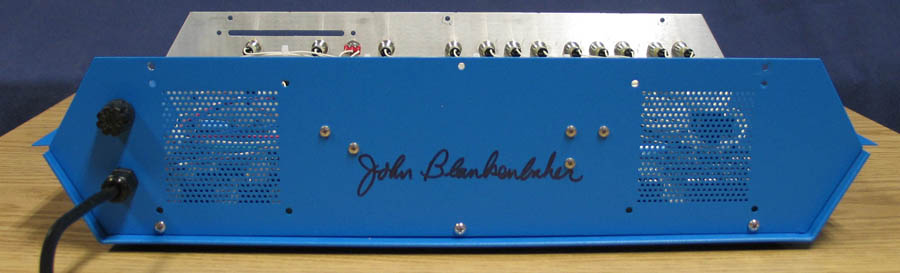 John Blankenbaker is willing to sign the rear panel of KENBAK-1 Series 2 owners! The above pictures are examples of the standard vintage configuration. I have manufactured extra key caps and found nice LEDs that can be used to "improve" or custom design the Kenbak-1. : ) 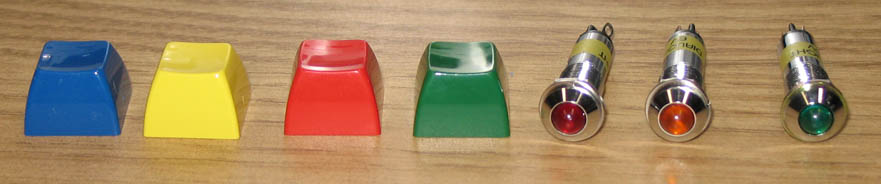 Before you assume that colored switches would be blasphemy, take a close look at the prototype of John's Kenbak. What do you see? A RED switch! : ) Choice of 6 colored switches can be included for free with the kit. All switches, including black and white, have glossy tops and sides like the original Kenbak-1. If you beg and give me a good reason you may be able to get more than 6! : ) I would use Red for "Stop", Green for "Run", Yellow/Blue for "Read/Store" and "Display/Set", and finally Red for "Clear"??? If you have a desire for a custom key color and can't live without it, we can work out a deal. It does not cost a "ton" to have these keys made. It would be around $20... Choice of 12 LEDs - Red/Orange/Green. 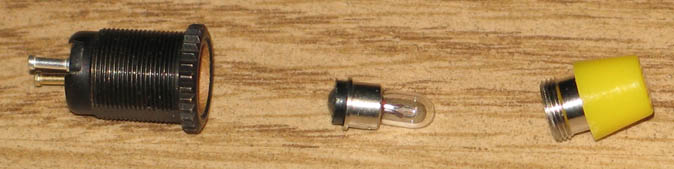 The incandescent lamps used are very nice. The lens is removable for easy replacement of the bulb. 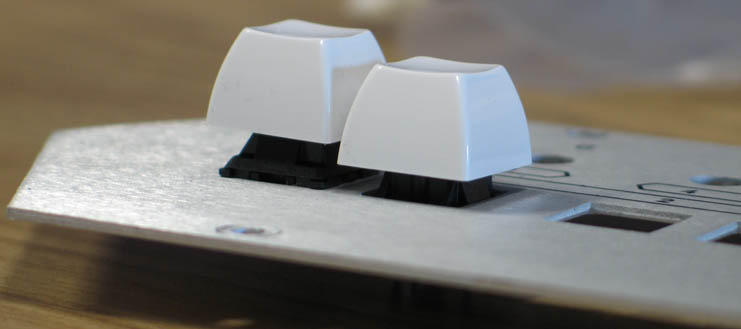 There are two different ways to mount the panel mount key switches, through the top (left) and through the bottom (right). The original Kenbak switches bottom out on the face plate when pressed. When the switches are mounted from the front of the panel they do not bottom out. These switches will "snap" into the front panel and are retained very well this way. The disadvantage of mounting them through the top is that they stick out further and do not bottom out.  Key switches pressed down 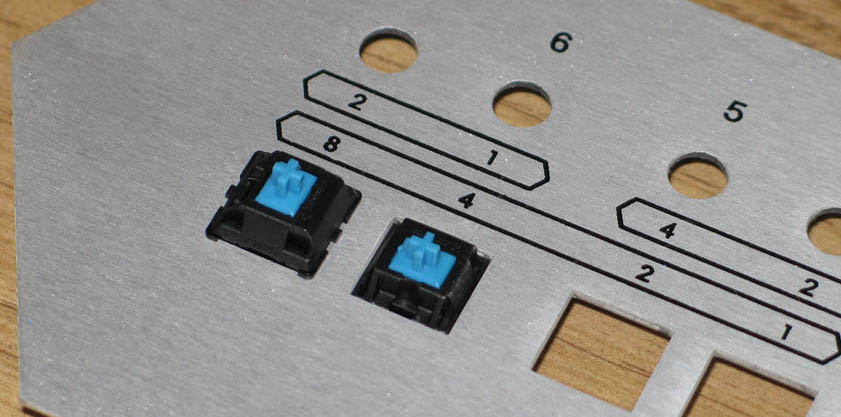 When mounted from the back the switches will have to be retained (since they do not clip in). I may design a PCB which solders to all the switches from the back side to secure them in. For mine I used glue. 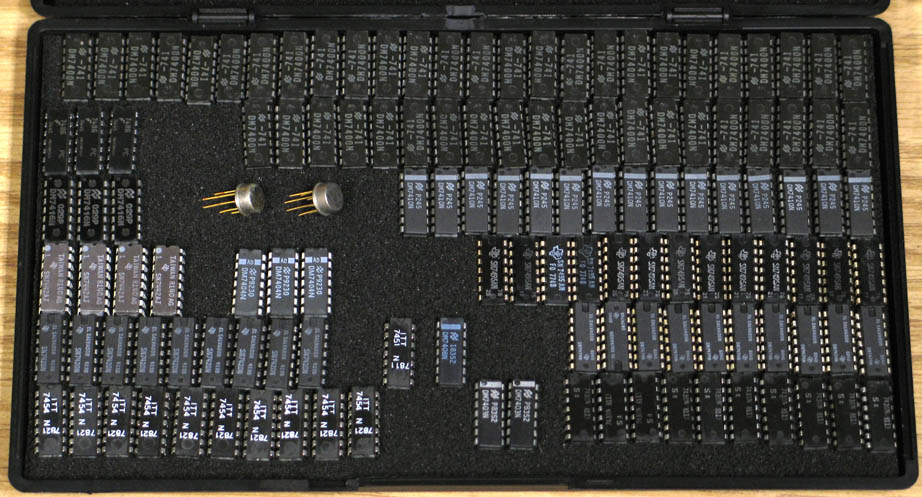 Here are the ICs used in the Kenbak kit. The two "cans" are the 1024bit shift registers. 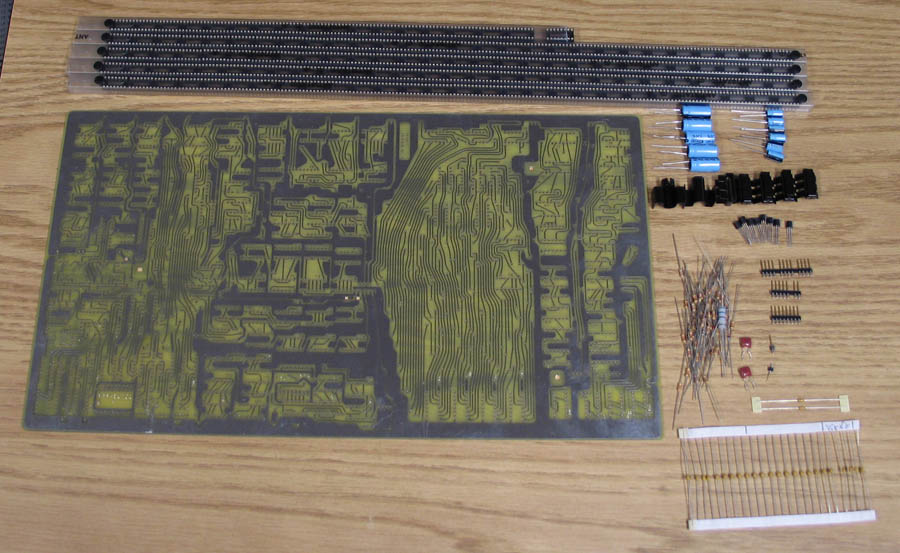 Below are pictures of a kit built using less conventional LEDs and colored switches. Header connectors were also used to improve the front panel wiring. Download my color construction guide from the Manuals/Documentation section for more high resolution pictures. (higher resolution than what is presented here) 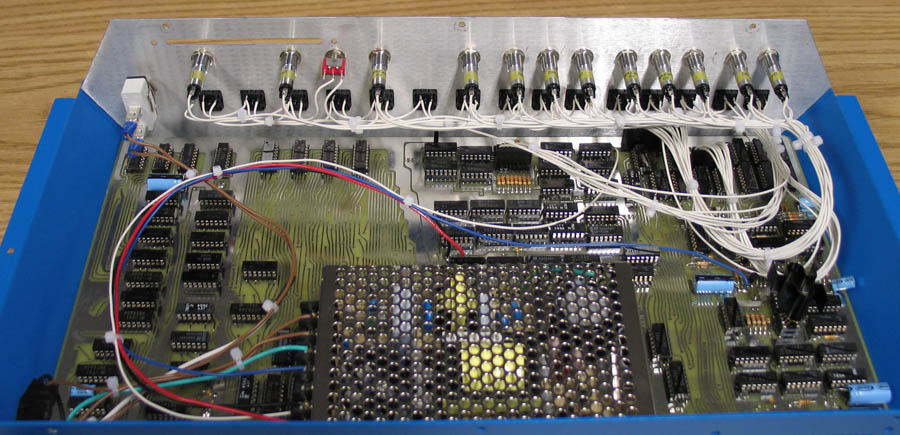 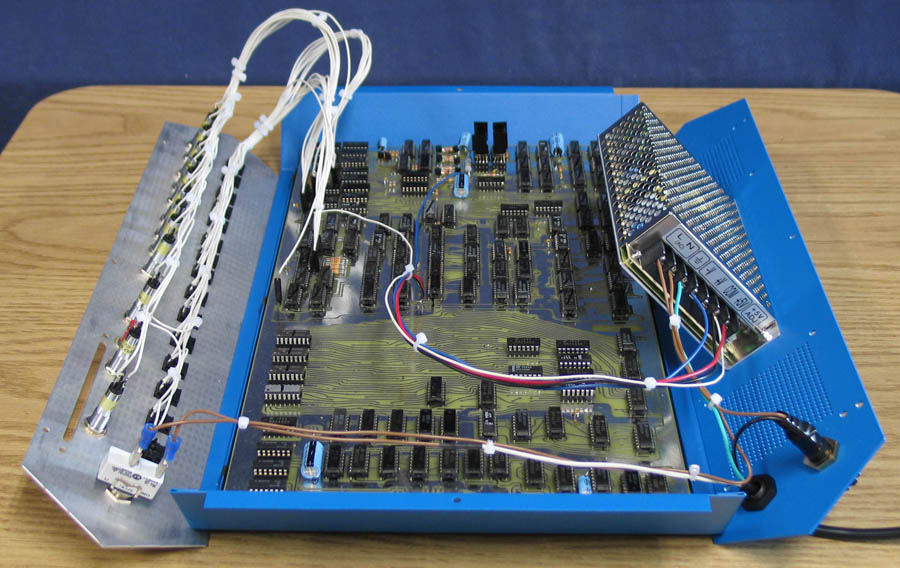 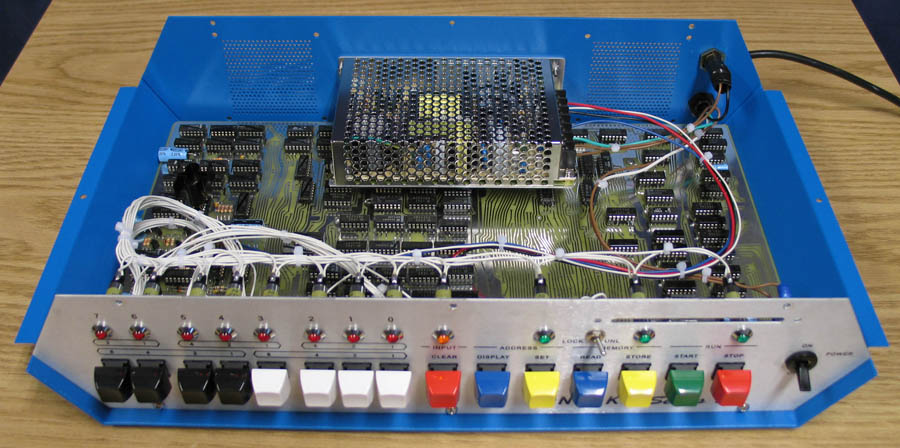 Visit Stockly Electronics Forums for more pictures as they become available! |
| ©2007 Grant Stockly
|